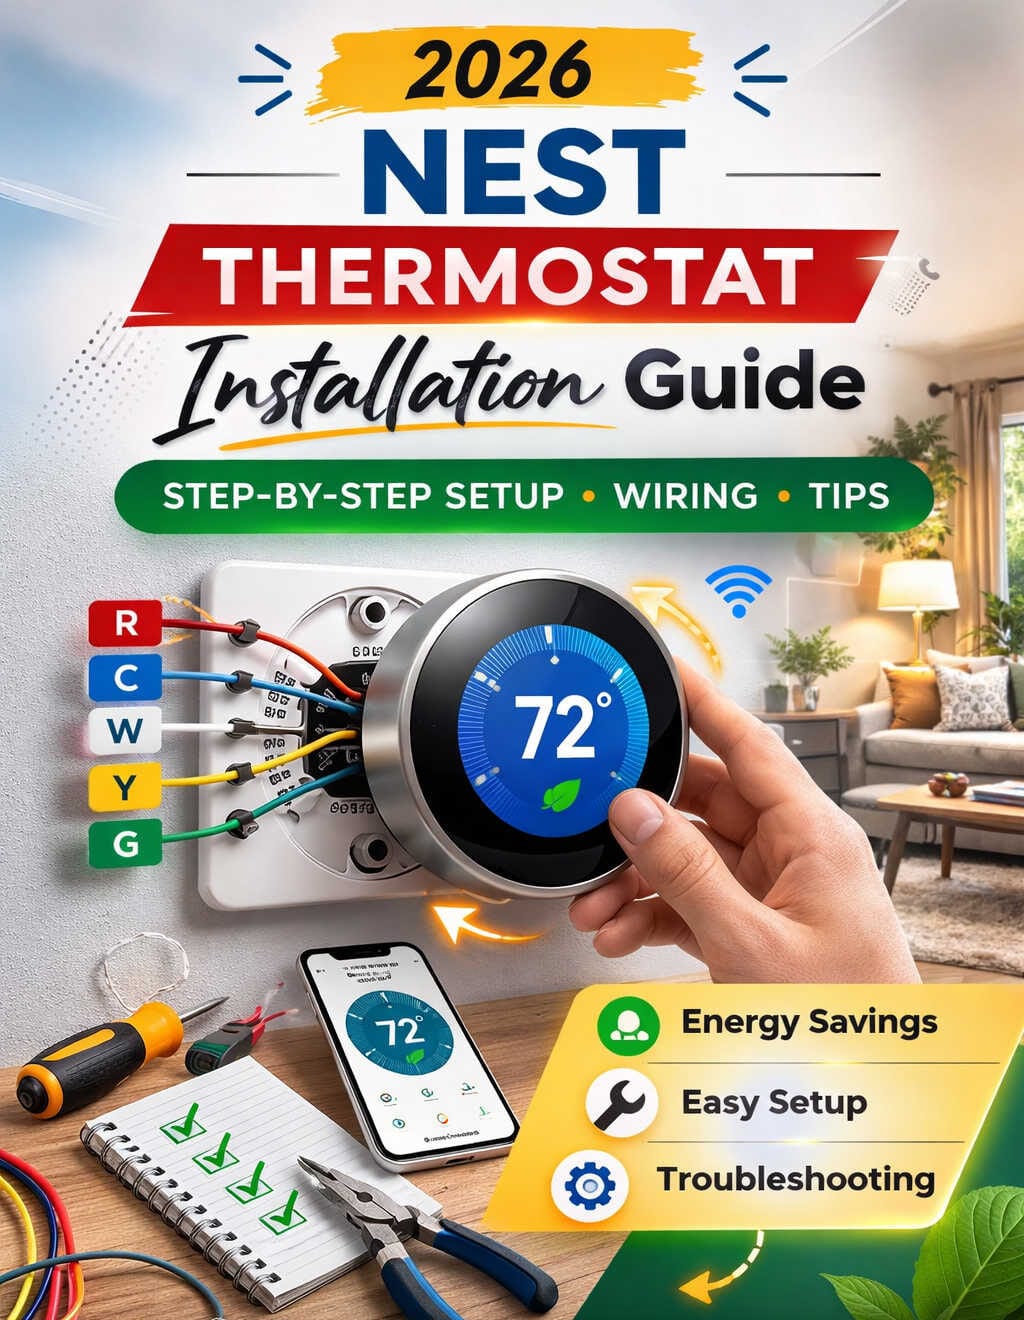
Upgrading to a Nest thermostat in 2026 is one of the most practical home improvements you can make. With rising energy costs and smarter HVAC technology, homeowners are looking for better ways to manage comfort and reduce monthly utility bills. A properly installed Nest thermostat does more than adjust temperature — it learns your habits, adapts to seasonal changes, and helps your heating and cooling system run more efficiently.
This complete installation guide is written to be clear, practical, and genuinely helpful. Whether you’re replacing an old programmable thermostat or installing a smart thermostat for the first time, you’ll find everything you need here — including compatibility checks, wiring guidance, troubleshooting advice, and energy-saving tips.
Why Install a Nest Thermostat in 2026?
Smart thermostats have evolved significantly over the last few years. The latest Nest models offer improved AI learning, better Wi-Fi stability, Matter compatibility for smart homes, and more reliable power management compared to older versions.
Homeowners choose Nest thermostats because they:
Help lower heating and cooling costs
Automatically adjust to your schedule
Allow remote control from anywhere
Provide detailed energy usage insights
Integrate with voice assistants and smart home systems
Improve overall HVAC efficiency
If your thermostat is more than 8–10 years old, upgrading can noticeably improve system responsiveness and comfort consistency.
Before You Begin: Check Compatibility
Most Nest thermostats are compatible with standard 24-volt low-voltage HVAC systems, including gas furnaces, electric furnaces, central air conditioning systems, and most heat pumps.
However, they are not designed for high-voltage systems such as electric baseboard heaters that run on 120V or 240V. If your current thermostat has thick wires connected with wire nuts, or if it is labeled 120V or 240V, you should consult a professional before proceeding.
If you’re unsure, remove your existing thermostat’s faceplate and inspect the wiring terminals. Standard low-voltage systems typically have labeled terminals such as R, W, Y, G, and C.
Tools You’ll Need for Nest Thermostat Installation
Installing a Nest thermostat does not require advanced tools, but having the right equipment ensures a smooth process. You will typically need a small Phillips screwdriver, a flathead screwdriver, needle-nose pliers, a drill if new wall anchors are necessary, and your smartphone for setup. Wire labels or masking tape can help prevent confusion when transferring connections from your old thermostat.
Most installations take between 30 and 60 minutes.
Step 1: Turn Off Power to Your HVAC System
Safety comes first. Even though thermostat wiring uses low voltage, accidentally shorting wires can damage your furnace control board.
Go to your home’s electrical panel and turn off the breaker that powers your heating and cooling system. Do not rely on simply switching the thermostat to “off.” Confirm the system is fully powered down before touching any wiring.
Step 2: Remove Your Existing Thermostat
Carefully remove the front cover of your old thermostat. Once the wiring is visible, take a clear photo of the terminal connections. This photo will serve as your backup reference.
Label each wire according to the letter on the terminal it connects to. Avoid relying on wire color, as colors are not always consistent across installations.
After labeling, loosen the terminal screws and gently remove the wires. Unscrew the mounting plate from the wall.
Understanding Thermostat Wiring
Most standard systems use a combination of the following terminals:
R provides power from the transformer.
C is the common wire that provides continuous power.
W controls heating.
Y controls cooling.
G controls the fan.
O/B is used in heat pump systems.
Aux or E controls auxiliary heat.
In 2026, while some Nest models can function without a C wire, having one is strongly recommended for long-term stability and consistent Wi-Fi performance. If your system lacks a C wire, you may need a Nest Power Connector or a professional wiring solution.
Step 3: Install the Nest Base Plate
Pull the labeled wires through the center opening of the Nest base plate. Position it against the wall and use a level if you want precise alignment. Secure it using the provided screws. If you are mounting on drywall without a stud, use wall anchors for added stability.
Make sure the base plate sits flat against the wall. Warping or uneven mounting can affect how the display connects.
Step 4: Connect the Wires to the Nest Thermostat
Insert each wire into its corresponding terminal. The connector should click or hold firmly once fully inserted. Gently tug each wire to ensure it is secure.
Make sure about a quarter inch of bare copper is exposed. Straighten bent wires before inserting them to ensure a strong connection.
Once all wires are attached, carefully tuck the excess wiring back into the wall cavity.
Step 5: Attach the Display and Restore Power
Snap the Nest display onto the mounted base plate. It should fit securely without force.
Return to your electrical panel and switch the HVAC breaker back on. The Nest thermostat should power up automatically. If it does not turn on, double-check the R and C wire connections.
Initial Setup and Configuration
Once powered on, follow the on-screen prompts. You will select your language, connect to Wi-Fi, and sign in with your Google account. The thermostat will detect your wiring configuration and ask you to confirm your heating and cooling system type.
Take your time reviewing this information. If your home uses a heat pump or dual fuel system, ensure those options are correctly selected.
After completing setup, test both heating and cooling modes to verify proper operation.
Optimizing Your Nest Thermostat After Installation
Installation is only the first step. To maximize efficiency and comfort, enable features such as Eco mode, which lowers energy use when you are away. Allow the Auto-Schedule feature to learn your daily routines during the first two weeks. Review your energy history to monitor system performance and detect unusual runtime patterns.
If you use a heat pump, adjust the heat pump balance settings to prioritize either comfort or energy savings based on your climate and preferences.
Small adjustments in your temperature settings can make a noticeable difference. Raising your cooling temperature by just two degrees in summer and lowering heating by two degrees in winter can significantly reduce annual energy consumption.
Recommended Accessories for Better Performance
If your system does not have a C wire, installing a Nest Power Connector improves reliability. For larger homes, adding Nest Temperature Sensors can help balance comfort across different rooms. A surge protector for your HVAC system is another smart investment, protecting both your thermostat and furnace control board from voltage spikes.
These additions enhance performance and protect your system long-term.
Common Nest Thermostat Installation Problems
If your thermostat does not power on, confirm the breaker is switched on and verify secure R and C connections. If Wi-Fi disconnects frequently, unstable power is often the cause. Installing a proper C wire solution usually resolves this issue.
If heating or cooling does not start, review your wiring configuration and confirm the correct system type was selected during setup. In some heat pump systems, the reversing valve setting may need adjustment.
Short delays when switching between heating and cooling are normal. Nest includes built-in compressor protection to prevent system damage.
Frequently Asked Questions About Nest Thermostat Installation
How long does it take to install a Nest thermostat?
Most homeowners complete installation within an hour.
Do I need professional installation?
If you are comfortable working with low-voltage wiring and shutting off breakers, you can install it yourself. Complex or multi-zone systems may require professional assistance.
Will Nest work without a C wire?
Some systems allow it, but a C wire or Power Connector is recommended for stable performance.
Is Nest compatible with heat pumps?
Yes, including systems with auxiliary heat.
Does installing a smart thermostat really save money?
Yes. Intelligent scheduling and automated energy management reduce unnecessary heating and cooling cycles.
When to Call an HVAC Professional
You should consider professional help if your system uses multiple transformers, has proprietary communication wiring, includes zoning panels, or behaves unpredictably after installation. Repairing a damaged HVAC control board can cost significantly more than professional installation.
Final Thoughts
Installing a Nest thermostat in 2026 is a smart, future-focused upgrade that improves comfort, convenience, and energy efficiency. With proper preparation, careful wiring, and thoughtful configuration, most homeowners can complete installation confidently.
Take your time during setup, double-check wiring assignments, and allow the thermostat’s learning features to adapt to your lifestyle. Once properly installed and optimized, your Nest thermostat becomes more than a temperature controller — it becomes a central part of your home’s energy management system.
If you’d like additional help, I can provide a compatibility checklist, a troubleshooting decision guide, or a comparison between Nest and other smart thermostats available in 2026.