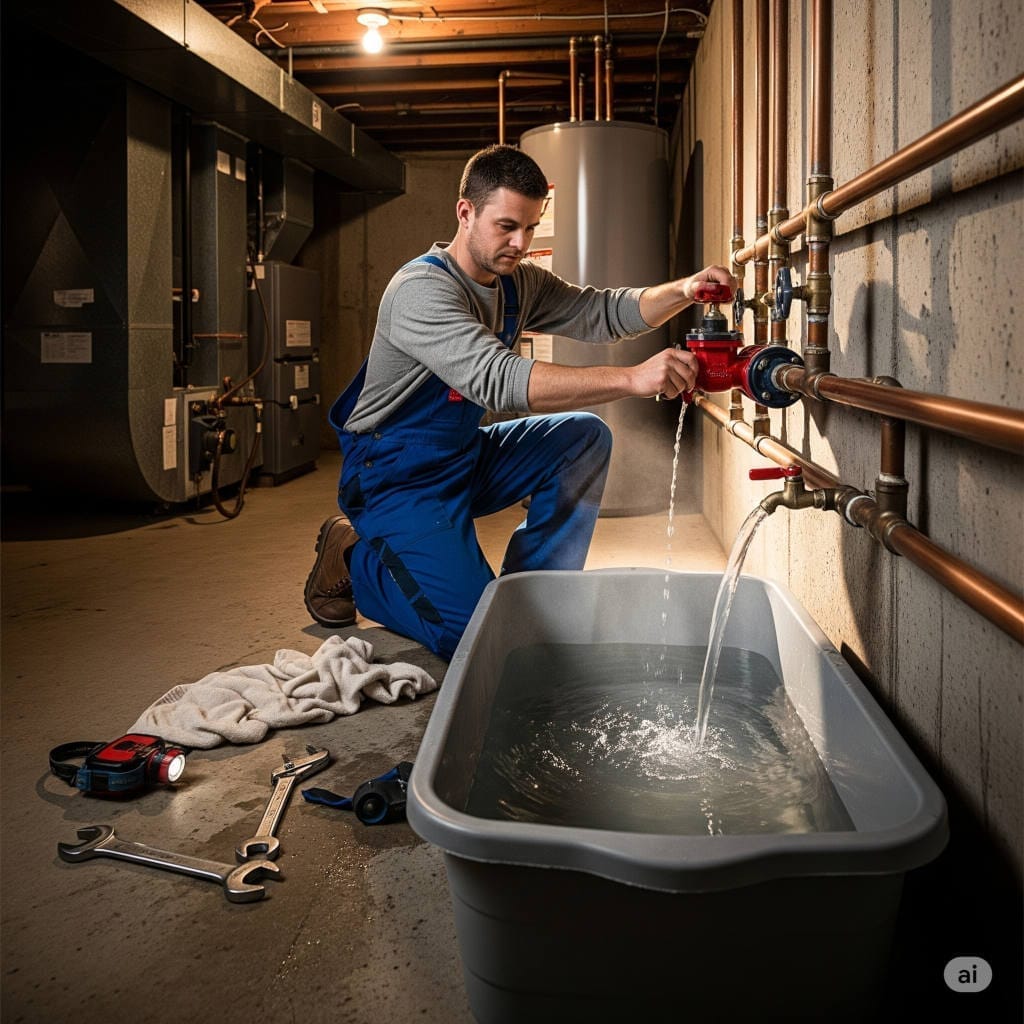
Picture this: you’re heading out for a month-long winter vacation, and suddenly you realize your pipes could freeze while you’re gone. Or maybe you’ve got a major plumbing repair coming up, and your contractor mentioned you’ll need to drain the system first. Whatever brought you here, learning to safely drain your home’s plumbing is one of those essential homeowner skills that can save you serious headaches (and money) down the road.
I’ve been there myself – standing in my basement at 10 PM, trying to figure out which valve does what, hoping I don’t flood my own house in the process. That’s why I’m sharing everything I’ve learned about doing this job right, safely, and without the panic.
Why Would You Ever Need to Drain Your Plumbing?
Before we dive into the how-to, let’s talk about when you’d actually need to do this. It’s not exactly a weekly chore, but these situations pop up more often than you might think:
Winter’s Coming (And You’re Leaving): Got a vacation home, RV, or planning to leave your house unheated for an extended period during freezing weather? Water expands when it freezes, and that expansion can split your pipes like a walnut in a nutcracker. Trust me, you don’t want to come home to that mess.
Big Repair Jobs: Installing a new water heater, replacing the main line, or doing major bathroom renovations? Your plumber will likely ask you to drain the system beforehand, or you might need to do it yourself to save on labor costs.
Oh No! Emergency Mode: Sometimes life throws you a curveball – a burst pipe, major leak, or plumbing disaster that requires you to shut everything down immediately to prevent flooding.
Annual TLC: Some folks drain their systems annually for maintenance, especially if they live in areas with hard water or older plumbing that needs extra attention.
What You’ll Need (Raid Your Toolbox)
Here’s your shopping list for this project. Most of this stuff you probably already have lying around:
Must-Haves:
- A couple of adjustable wrenches (different sizes are handy)
- Large bucket or container (trust me, you’ll need it)
- Garden hose (long enough to reach outside or a drain)
- Plenty of towels and old rags
- Flashlight or headlamp (because Murphy’s Law says you’ll need to see something in a dark corner)
- Work gloves and safety glasses
Nice-to-Haves:
- Basic plumbing tools
- Thread sealant or plumber’s tape
- A wet/dry shop vacuum (super helpful for stubborn water spots)
The Step-by-Step Breakdown (Don’t Skip Steps!)
Alright, let’s walk through this together. I’m going to assume you’ve never done this before, so I’ll explain everything.
Step 1: Find and Turn Off Your Main Water Valve
This is like finding the master switch for your entire water system. Your main shutoff valve is usually located where the water line enters your house – check your basement, crawl space, or sometimes it’s outside near your water meter.
Here’s the thing that trips people up: turn it clockwise to shut it off. “Righty tighty, lefty loosey” – that old saying will serve you well here. Give it a firm turn until it stops completely. Don’t force it if it seems stuck; older valves can be stubborn, and you might need to call a pro if it won’t budge.
Step 2: Deal With Your Water Heater First
This step is crucial for safety. You absolutely must turn off your water heater before draining, or you could seriously damage it (and potentially create a dangerous situation).
For Electric Water Heaters: Head to your electrical panel and flip the breaker that controls your water heater to the “off” position.
For Gas Water Heaters: Find the gas control valve on the unit and turn it to “off” or “pilot.” If you’re not comfortable doing this, there’s no shame in calling a professional.
Why is this so important? Running a heating element without water is like putting an empty pot on a hot stove – things can go very wrong, very quickly.
Step 3: Open Every Single Faucet and Fixture
Now comes the part that feels a bit weird – you’re going to open every water outlet in your house. Start upstairs and work your way down:
- Bathroom sinks (both hot and cold)
- Kitchen faucets
- Laundry room sinks
- Outdoor spigots and hose connections
- Shower and bathtub faucets
- That random utility sink in the basement you forgot about
Opening everything allows air to enter the system, which helps the water drain out much more effectively. Think of it like opening both ends of a straw – the water flows out much easier.
Step 4: Flush All the Toilets
Yep, every single one. This empties both the tank and the bowl. Since your main water is off, the tanks won’t refill, which is exactly what you want. Don’t worry if they make weird gurgling sounds – that’s just air moving through the system.
Step 5: Tackle the Water Heater
This is where that garden hose comes in handy. Look for a drain valve at the bottom of your water heater – it usually looks like a standard outdoor faucet.
Connect your garden hose to this valve and run the other end somewhere safe – outside, to a floor drain, or into that large bucket you grabbed earlier. Fair warning: this water will be hot if you haven’t let the system cool down first, so be careful.
Open the valve and let it flow. This part takes patience – depending on your tank size, you could be waiting anywhere from 30 minutes to over an hour. Perfect time for a coffee break.
Pro tip: If the water isn’t flowing well, try opening a hot water faucet upstairs. This breaks the vacuum and helps everything drain faster.
Step 6: Check the Low Spots
Water always finds the lowest point, and it likes to hide there. Check your basement fixtures, utility sinks, and any plumbing that sits lower than everything else. You might find stubborn pockets of water that need manual attention.
This is where that shop vacuum really shines. You can suck out water from low-lying pipes and traps that gravity just won’t clear.
Step 7: Don’t Forget Your Appliances
Your washing machine, dishwasher, ice maker, and any other water-connected appliances need attention too. Most have specific drain procedures, so check your owner’s manuals if you still have them (or look them up online).
For washing machines, run a quick drain cycle if possible. For dishwashers, you might need to manually drain the bottom or run an empty cycle to clear the lines.
Safety First (Because Nobody Wants a Trip to the ER)
Let me share some hard-learned lessons about staying safe during this process:
Electricity and Water Don’t Mix: Always, always, ALWAYS turn off electrical connections before draining. This isn’t just about your water heater – be careful around any electrical appliances or outlets near your work area.
Hot Water Burns: If you haven’t let your system cool down, that water coming out of your heater can be scalding hot. I learned this one the hard way. Give your system several hours to cool, or at least test the temperature before sticking your hands anywhere near the flow.
Watch Your Back: You’ll be bending, lifting, and working in awkward positions. Take breaks, use proper lifting techniques, and don’t try to be a hero with heavy buckets of water.
Ventilation Matters: If you’re working in a basement or tight space, especially around gas appliances, make sure you have good airflow. Open windows or use fans if needed.
Know Your Limits: Some systems are complex, and there’s no shame in calling a professional if things get confusing or you encounter something unexpected.
Special Situations (Because Every House is Different)
Well Water Systems: If you’re on a private well, you’ve got extra steps. You’ll need to drain your pressure tank and shut off power to your well pump. The pressure tank usually has its own drain valve, but the process can be trickier than city water systems.
Multi-Level Homes: Gravity is your friend here, but it’s not perfect. Upper floors will drain relatively easily, but you might need to use compressed air or a shop vacuum to get water out of lower-level pipes completely.
Radiant Floor Heating: If your house has hydronic (water-based) radiant heating, this is a whole different animal. These systems often require glycol antifreeze and have their own drainage procedures. Honestly, I’d recommend calling a pro for this one unless you really know what you’re doing.
Older Homes: Houses built before 1950 can have quirky plumbing configurations. You might encounter galvanized steel pipes, unusual valve locations, or systems that don’t behave like modern plumbing. Take extra time to understand your specific setup.
Bringing Your System Back to Life
Once you’re done with whatever required the drainage, you’ll need to restore everything. Here’s how to do it without creating new problems:
Close Everything Up: Start by closing all those faucets and drains you opened earlier. Work from bottom to top this time.
Fill the Water Heater First: This is crucial – make sure your water heater tank is completely full before you restore power. Turn on a hot water faucet and wait until you get a steady stream, then you know the tank is full.
Restore Main Water Slowly: Turn your main valve back on gradually. You’ll hear air gurgling through the pipes as the system refills – this is normal.
Check for Leaks: As the system comes back online, walk around and check every connection you touched. Look for drips, unusual sounds, or anything that seems off.
Test Everything: Once the system is refilled, test all your faucets, toilets, and appliances to make sure everything is working normally.
When to Wave the White Flag and Call a Pro
Look, I’m all for DIY projects, but some situations require professional expertise:
- You’re dealing with commercial-grade or complex multi-zone systems
- You encounter gas line issues or feel uncomfortable around gas appliances
- Your home has unusual or very old plumbing configurations
- You run into unexpected complications (like valves that won’t turn or strange system behaviors)
- You’re dealing with a large or complicated radiant heating system
There’s no shame in calling a licensed plumber. Sometimes the cost of professional help is way less than the cost of fixing mistakes.
My Final Thoughts (And a Reality Check)
Draining your plumbing system isn’t rocket science, but it does require attention to detail and respect for safety. I’ve walked dozens of homeowners through this process, and the biggest mistakes usually come from rushing or skipping steps.
Take your time, double-check your work, and don’t hesitate to ask questions if you’re unsure about something. The internet is full of helpful resources, and most local plumbers are happy to answer quick questions over the phone.
Remember, this isn’t something you’ll do often, but when you need to do it, you’ll be glad you know how. Whether you’re protecting your home from freeze damage, preparing for a major repair, or dealing with an emergency, having this skill in your back pocket gives you confidence and can save you significant money.
The key is preparation, patience, and safety. Master those three things, and you’ll handle this task like a pro. And who knows? You might even feel pretty accomplished when you’re done – there’s something satisfying about understanding how your home’s systems work and being able to maintain them yourself.
Stay safe out there, and happy plumbing!
Need more home maintenance tips? Check out our guides on winterizing your home, basic plumbing repairs, and seasonal maintenance checklists.