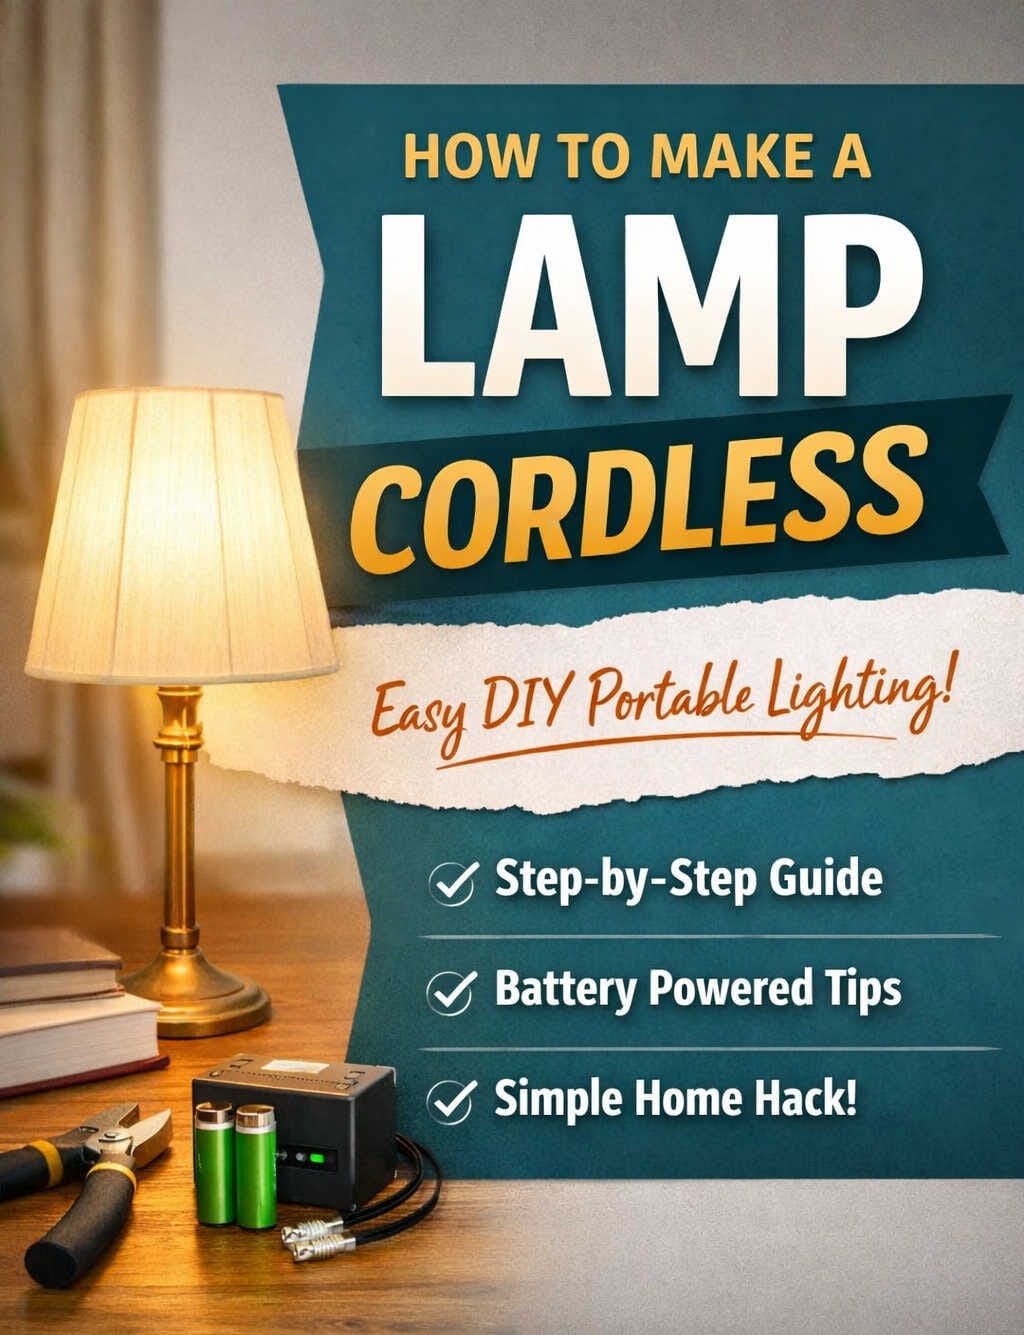
Lighting plays a bigger role in our daily lives than we usually notice. A lamp isn’t just a source of illumination — it shapes atmosphere, helps you focus, and adds personality to your space. However, traditional lamps come with a limitation that can be frustrating: cords. They restrict where you place your lamp, create visual clutter, and make room arrangements less flexible.
Turning a wired lamp into a cordless one is an achievable DIY project that brings convenience, portability, and creative freedom. With modern batteries and energy-efficient lighting, you can convert many lamps safely without advanced technical knowledge. This guide walks you through the entire process in a clear and practical way — from planning to execution — so you can confidently tackle the project yourself.
Why Convert a Lamp to Cordless?
Before starting, it helps to understand the benefits beyond just eliminating a cable.
Greater placement flexibility
Without needing a wall outlet, you can position your lamp anywhere — bedside tables, bookshelves, patios, or study corners. This makes room layout much more adaptable.
Cleaner visual design
Cords often disrupt the look of a carefully designed space. Removing them creates a more polished and minimalist appearance.
Useful during power disruptions
Portable lamps can provide lighting when electricity is unavailable, making them practical beyond aesthetics.
A rewarding DIY experience
Converting a lamp teaches you useful hands-on skills and builds confidence in handling small household improvements.
Understanding the Concept
Making a lamp cordless doesn’t mean changing how it produces light — it simply means changing how it gets power. Instead of pulling electricity from the wall, the lamp runs on stored energy from batteries.
A cordless lamp typically relies on three main elements:
- A rechargeable power source
- An energy-efficient light (usually LED)
- Safe connections to control power flow
Understanding these basics helps you plan the conversion more effectively and avoid unnecessary complications.
Choosing the Best Lamp for Conversion
Not every lamp is equally suited for modification. Selecting the right one increases your chances of success.
Size and structure
Compact table lamps or decorative lamps with hollow bases are ideal. They usually provide enough room to store batteries discreetly.
Material
Plastic or ceramic lamps are easier to work with. Metal designs can still work, but they require careful insulation to prevent electrical issues.
Bulb type
LED bulbs are strongly recommended because they consume far less power than incandescent options. Lower power consumption means longer runtime on battery power.
Tools and Materials You May Need
The exact components depend on your approach, but most projects involve items such as:
- Rechargeable batteries or battery pack
- Compatible LED bulb
- Screwdrivers
- Wire cutters or strippers
- Electrical tape or insulation sleeves
- Connectors or terminals
Having everything prepared beforehand saves time and reduces frustration midway through the process.
Planning Your Power Setup
This stage determines how practical and efficient your cordless lamp will be.
Selecting batteries
Rechargeable batteries are the most sustainable and cost-effective choice. When choosing, consider:
- Capacity (how long the lamp runs)
- Size (whether they fit inside the lamp base)
- Output voltage compatibility
Higher capacity typically means longer lighting time between charges.
Matching voltage
The power supplied by the battery should align with the requirements of the light source. This compatibility ensures reliable operation and avoids damage.
Estimating runtime
Think about how you intend to use the lamp — occasional ambient lighting or extended study sessions. Your usage expectations influence battery selection and system design.
Step-by-Step Cordless Conversion
The following overview outlines a general process suitable for many basic lamps. Details may vary based on design.
Inspect and open the lamp
Carefully access the interior of the lamp base or housing. Take note of component placement before making changes.
Disconnect the original cord
Remove or isolate wiring connected to the wall plug. Ensure no exposed wiring remains that could create hazards.
Install the battery pack
Place the battery securely inside the base or enclosure. Stability prevents shifting and potential disconnections.
Connect power lines
Attach the battery output to the lamp’s internal power input using secure connectors. Confirm correct alignment before proceeding.
Replace with efficient lighting
Install an LED bulb compatible with your battery setup. Efficient lighting extends operational time.
Test functionality
Activate the lamp briefly to ensure proper operation. Observe performance and check for irregular behavior.
Reassemble the lamp
Once satisfied with performance, close the housing and fasten components firmly.
Easier Alternatives to Full Modification
If internal rewiring feels overwhelming, simpler options can still achieve cordless functionality.
Rechargeable light bulbs
These bulbs contain built-in batteries and can operate independently after charging.
External battery bases
Rather than altering the lamp, you can place it on a concealed power platform.
USB lighting modules
Some lighting inserts can run directly from portable power banks, simplifying setup considerably.
These approaches reduce complexity while still delivering flexibility.
Troubleshooting Tips
Even simple projects may encounter minor setbacks. Here are common situations and solutions:
Lamp fails to turn on
- Check battery charge
- Verify connections
- Confirm compatibility of components
Light flickers
- Inspect connection stability
- Ensure adequate power output
- Replace incompatible bulbs
Limited operating time
- Upgrade battery capacity
- Reduce brightness level
- Switch to more efficient lighting
Careful observation often resolves issues quickly.
Making the Lamp Even Better
Once your cordless lamp works reliably, you can personalize it further.
- Add brightness controls for mood adjustment
- Integrate wireless controls
- Redesign or repaint the exterior
- Customize the base for décor matching
Small enhancements can transform the lamp into a truly unique piece.
Maintenance and Care
Keeping your cordless lamp in good condition ensures longevity and safety.
- Recharge batteries responsibly
- Avoid storing in extreme temperatures
- Periodically inspect connections
- Replace worn batteries
Consistent maintenance prevents unexpected failures.
Environmental Responsibility
Cordless lighting involves battery use, so responsible habits matter.
- Prefer rechargeable batteries
- Dispose of old batteries properly
- Avoid unnecessary replacements
Thoughtful usage balances convenience with sustainability.
Situations Where Conversion Isn’t Ideal
Sometimes modification isn’t the best option.
- High-value or antique lamps
- Large, high-power fixtures
- Lack of supervision or experience
- Uncertainty about handling electrical components
In such cases, purpose-built cordless lamps are safer alternatives.
Final Thoughts
Transforming a wired lamp into a cordless one is a practical and creative project that enhances both usability and aesthetics. It gives you control over lighting placement, removes design limitations, and offers an opportunity to learn hands-on skills.
By selecting suitable components, planning carefully, and prioritizing safety, even beginners can complete this project successfully. Whether you pursue a full modification or choose simpler alternatives, cordless lighting demonstrates how small adjustments can significantly improve everyday comfort.
If approached thoughtfully, the result isn’t just a portable light source — it’s a personalized solution tailored to your environment and needs.