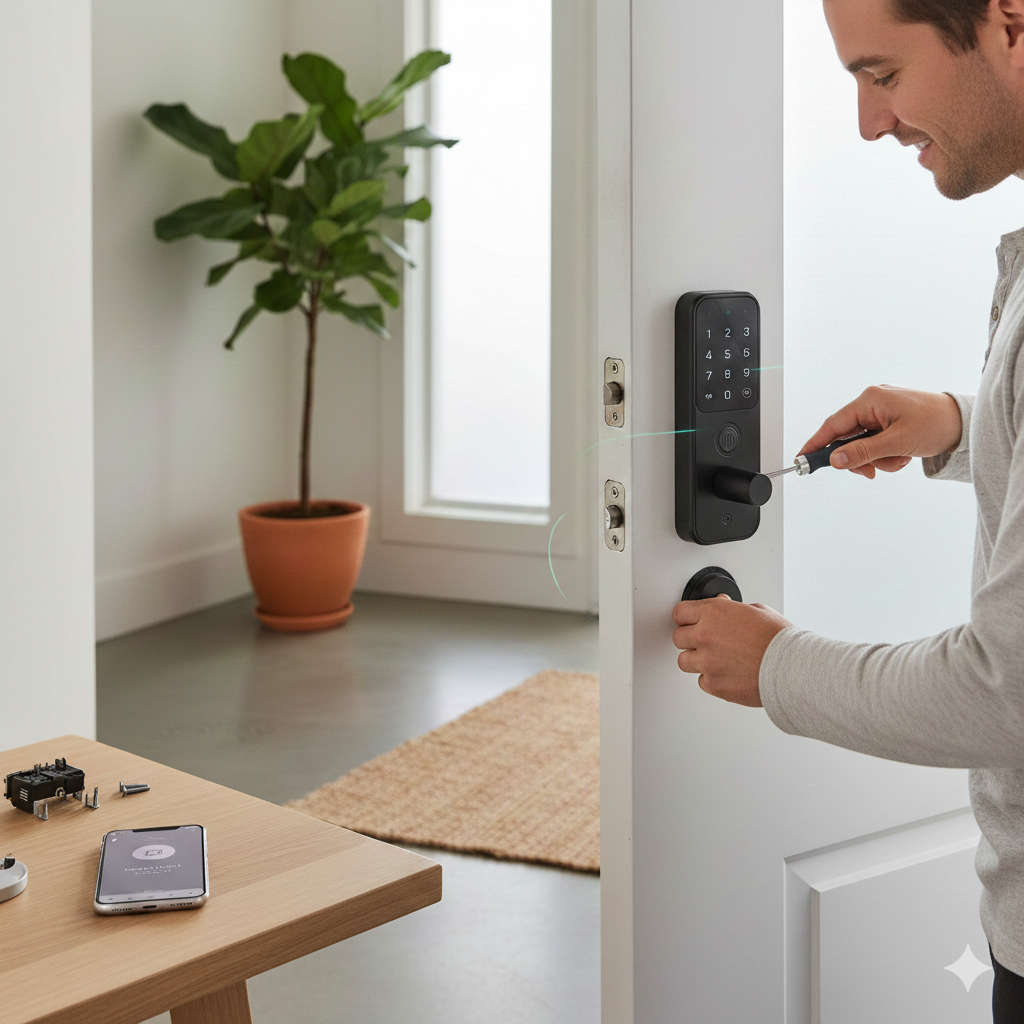
Upgrading your door with a smart lock used to sound like a job reserved for electricians, locksmiths, or tech-savvy homeowners. Today, that’s no longer the case. Modern smart locks—especially smart locks with handles—are designed specifically so everyday homeowners and renters can install them on their own with minimal effort, basic tools, and zero wiring knowledge.
If you’re a beginner who has never installed a lock before, this guide is for you. This article walks you through everything you need to know—from choosing the right smart lock to installing it, setting it up, avoiding common mistakes, and enjoying the benefits afterward.
By the end, you’ll feel confident installing a smart lock with handle on your own, even if this is your first DIY project.
What Makes a Smart Lock with Handle Beginner-Friendly?
A smart lock with handle combines the locking mechanism and the door handle into a single unit. This all-in-one design is one of the biggest reasons beginners find these locks easier to install than deadbolt-only smart locks.
Here’s why they work so well for first-time installers:
They replace your existing handle and lock entirely, meaning you don’t need to mix old hardware with new technology. Most models are built to fit standard pre-drilled doors, which eliminates the need for cutting or drilling. Installation instructions are simplified, often with visual guides or app-based walkthroughs. The electronics are pre-assembled, so you’re not dealing with loose wires or complicated configurations.
In short, smart locks with handles are designed for real people—not professionals.
Why Beginners Are Choosing DIY Smart Locks Over Traditional Locks
Traditional locks rely entirely on physical keys. While they’ve worked for decades, they come with limitations that modern homeowners want to avoid. Smart locks solve many of those problems while remaining surprisingly easy to install.
One of the biggest advantages is convenience. You no longer need to carry keys everywhere or worry about losing them. With a smart lock, you can unlock your door using a code, smartphone, or fingerprint, depending on the model.
Security is another major factor. Smart locks allow you to create unique access codes for family members, guests, or service providers. If someone no longer needs access, you simply delete their code instead of changing the entire lock.
For beginners, the biggest benefit is confidence. Completing a smart lock installation gives you an immediate sense of accomplishment and proves that smart home upgrades don’t have to be intimidating.
Understanding Door Compatibility Before You Buy
Before choosing a smart lock with handle, it’s important to make sure your door is compatible. This step saves time, frustration, and potential returns.
Most DIY smart locks are made to fit standard residential doors. These doors usually have a thickness between 1¾ inches and 2⅛ inches. If your door falls within this range, you’re already on the right track.
Next, check the existing holes in your door. Standard doors come with pre-drilled holes for the handle and latch. If your current lock was installed without modifications, your door is likely compatible with most smart locks.
Also pay attention to door handing. Some locks are reversible and work for both left- and right-hand doors, while others require you to specify orientation. Beginner-friendly models usually adjust automatically during installation.
If you’re renting, smart locks with handles are especially useful because most can be removed without damaging the door, allowing you to reinstall the original hardware later.
Tools You’ll Need for Installation (Less Than You Think)
One of the biggest misconceptions about smart lock installation is that you need advanced tools. In reality, most beginner-friendly smart locks require only a few basic items.
You’ll typically need a standard Phillips-head screwdriver. Some locks include an Allen key or specialized tool in the box. A measuring tape can be helpful but is rarely required. A smartphone is essential for setup, as most smart locks rely on an app for programming and configuration.
That’s it. No drills, no wiring kits, no professional tools.
Step-by-Step Installation Explained Simply
Installing a smart lock with handle may look complex at first, but when broken into steps, it becomes very manageable—even for beginners.
Start by removing your existing lock and handle. Unscrew the interior handle and gently pull both sides apart. Remove the latch from the side of the door. Keep everything together in case you need to reinstall it later.
Next, check the latch alignment. Most smart locks come with adjustable latches to fit different door backsets. Insert the new latch into the door and make sure it sits flush.
Install the exterior handle and smart lock body by feeding it through the latch opening. Hold it in place while attaching the interior mounting plate. Tighten the screws gradually, alternating sides to keep everything aligned.
Once the hardware is secure, install the batteries. Many locks use AA batteries, while others include rechargeable battery packs. Insert them as instructed and wait for the lock to power on.
Finally, attach any decorative covers or trim pieces. These usually snap into place and hide screws for a clean, finished look.
At this point, the physical installation is complete.
Setting Up the Smart Features for First-Time Users
Once installed, the next step is programming your smart lock. This is where many beginners feel nervous, but modern apps make the process straightforward.
Download the official app for your smart lock on your smartphone. Create an account and follow the in-app instructions to pair your lock. Pairing usually happens via Bluetooth, even if the lock supports Wi-Fi.
After pairing, you’ll be guided through calibration. This allows the lock to learn how far to turn when locking and unlocking. Calibration ensures smooth operation and prevents motor strain.
Next, create your first access code. Choose a code that’s easy for you to remember but hard for others to guess. Many apps allow multiple codes for different users.
If your lock supports additional features like auto-lock, remote access, or notifications, take time to explore them gradually. Beginners often benefit from starting simple and adding features later.
Recommended Easy DIY Smart Locks with Handles for Beginners
Choosing the right product makes a huge difference in how easy your installation experience will be. Below are some of the most beginner-friendly smart locks with handles, known for simple setup and reliable performance.
One of the most popular options is a touchscreen smart lock with handle that uses keypad access and Bluetooth connectivity. These locks are ideal for beginners because they don’t require a hub or complicated Wi-Fi setup. Installation usually takes under 30 minutes.
Fingerprint smart locks with handles are another excellent choice. They offer quick access and eliminate the need to remember codes. Beginner-friendly models store fingerprints locally and guide you through enrollment step by step.
Wi-Fi smart locks with handles are perfect for homeowners who want remote control and monitoring. While setup takes slightly longer, many models include guided app walkthroughs that make the process beginner-safe.
For those on a budget, keypad-only smart locks with handles offer an excellent balance between affordability and ease of use. They skip advanced features but still provide keyless entry and solid security.
When choosing a model, prioritize clear instructions, strong customer support, and compatibility with standard doors.
Common Beginner Mistakes and How to Avoid Them
Even with easy DIY smart locks, beginners sometimes make small mistakes. The good news is that most of these are easily avoidable.
One common issue is overtightening screws. This can cause the lock to bind or the handle to feel stiff. Always tighten screws gradually and stop when snug.
Another mistake is skipping calibration. Calibration ensures the lock operates smoothly. Skipping this step often leads to locking errors or excessive motor noise.
Using low-quality batteries is another problem. Cheap batteries drain faster and can cause connection issues. Always use fresh, high-quality batteries.
Finally, rushing through setup can lead to missed features or misconfigured settings. Take your time and follow each step carefully.
Troubleshooting Simple Problems Without Calling a Professional
If your smart lock doesn’t work perfectly right away, don’t panic. Most issues have simple solutions.
If the lock doesn’t respond, remove and reinsert the batteries. This resets the system. If the handle feels stiff, loosen the mounting screws slightly and test again.
If the lock won’t connect to the app, make sure Bluetooth is enabled and that you’re standing close to the door. Restarting your phone often resolves pairing issues.
If access codes fail, delete them and create new ones. Double-check that you’re entering them correctly and that the lock isn’t in a restricted mode.
Almost all beginner issues can be resolved without professional help.
Daily Life Benefits After Installation
Once your smart lock with handle is fully installed and set up, the benefits become part of your daily routine almost immediately.
You’ll enjoy the freedom of keyless entry. No more fumbling for keys or worrying about lost copies. Giving access to guests becomes effortless, whether it’s family, friends, or service providers.
Security improves because you always know who has access and when they enter. Many smart locks log activity, giving you peace of mind even when you’re away.
Convenience is another major upgrade. Features like auto-lock ensure your door is never accidentally left unlocked. Remote access lets you check your door status anytime.
For beginners, there’s also a sense of pride in completing a smart home upgrade on your own.
Maintenance Tips to Keep Your Smart Lock Working Smoothly
Smart locks require very little maintenance, but a few simple habits will keep yours running smoothly.
Check the batteries every few months and replace them when the app alerts you. Clean the keypad or fingerprint sensor occasionally with a soft cloth.
Make sure the door and frame remain aligned, especially during seasonal temperature changes. Minor alignment issues can affect locking performance.
Update the app and firmware when available. Updates often improve performance and security.
With basic care, your smart lock can function reliably for years.
Is a Smart Lock with Handle Worth It for Beginners?
For most beginners, the answer is yes. A smart lock with handle offers a perfect balance of ease, functionality, and modern convenience. It’s one of the few smart home upgrades that delivers immediate value without requiring advanced skills.
The installation process builds confidence, the daily benefits improve your lifestyle, and the long-term security enhancements make it a worthwhile investment.
If you’ve been hesitant to start your smart home journey, installing a smart lock with handle is one of the best places to begin.
Final Thoughts
Installing a smart lock with handle doesn’t have to be complicated or intimidating. With today’s beginner-friendly designs, clear instructions, and intuitive apps, anyone can complete the installation successfully.
By choosing a compatible lock, taking your time during installation, and following best practices, you can upgrade your door in under an hour—no professional help required.
If you’re looking for a simple, rewarding DIY project that enhances both security and convenience, a smart lock with handle is an excellent choice.