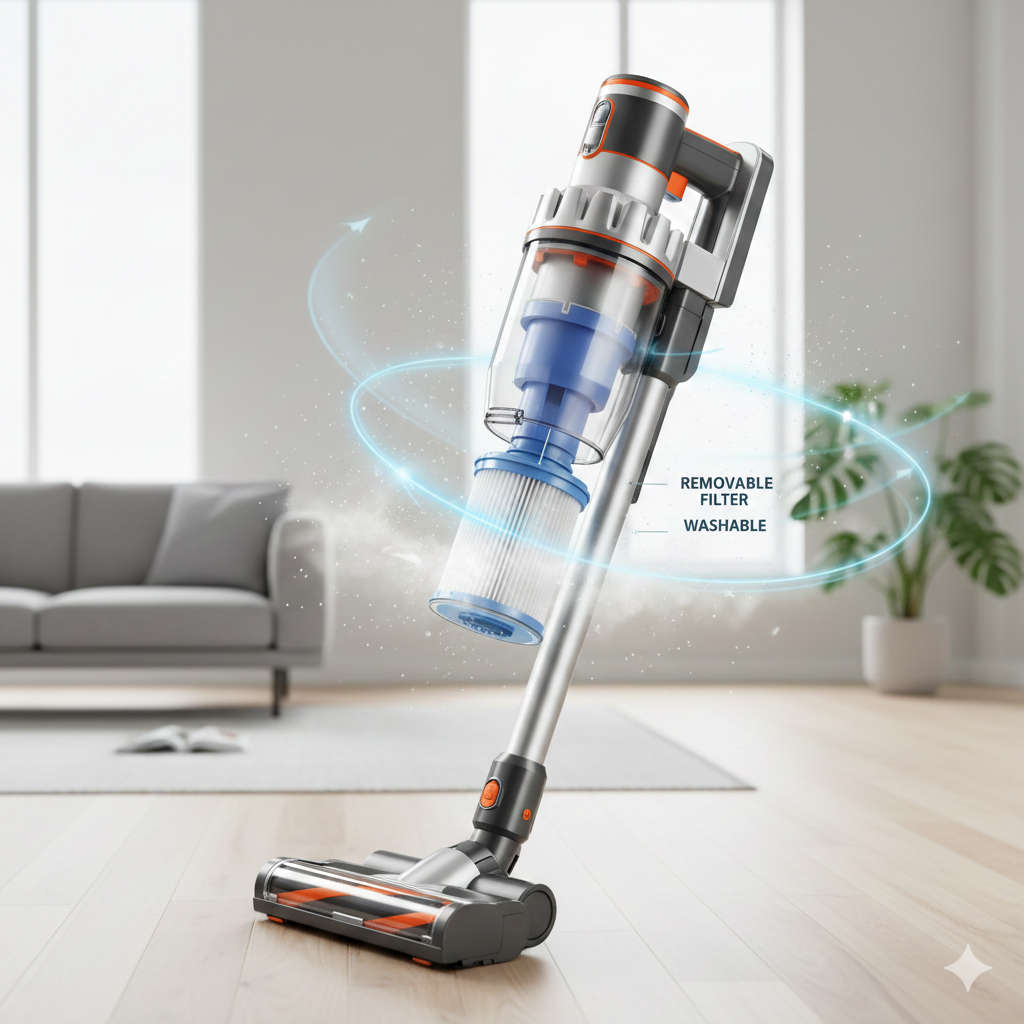
A Shark vacuum cleaner is designed to deliver strong suction, reliable airflow, and effective dust capture. However, none of these features can perform properly if the filter is neglected. The filter is one of the most critical components of any vacuum cleaner, yet it is often overlooked until problems begin to appear.
Every time you vacuum, dust, hair, fine debris, and microscopic allergens are pulled into the machine. The filter’s job is to trap these particles while allowing clean air to pass through. Over time, the filter fills up. When this happens, airflow becomes restricted, suction power drops, and the vacuum has to work harder to achieve the same results.
Replacing the filter in your Shark vacuum is not just routine maintenance. It directly impacts cleaning performance, air quality, energy efficiency, and the lifespan of the vacuum itself. A clean filter allows your vacuum to operate as intended, while a clogged or damaged filter can cause overheating, unpleasant odors, and even permanent motor damage.
This guide explains everything you need to know about replacing the filter in a Shark vacuum, written in a clear, practical, and easy-to-follow manner so you can confidently maintain your machine and get the best results from it.
How Shark Vacuum Filters Work
To understand why filter replacement matters, it helps to know how Shark vacuum filtration systems function. Most Shark vacuums use a multi-stage filtration system rather than relying on a single filter.
The first stage usually involves a foam or felt pre-motor filter. This filter captures larger debris such as dust clumps, pet hair, and dirt particles before they reach the motor. Its primary purpose is to protect the motor and prevent heavy debris from clogging finer filters.
The second stage is typically a high-efficiency filter, often referred to as a HEPA or post-motor filter. This filter captures extremely fine particles, including pollen, mold spores, and allergens. The air expelled from the vacuum passes through this filter before being released back into the room.
When either of these filters becomes clogged, airflow slows down. Reduced airflow means weaker suction, incomplete debris pickup, and a noticeable decline in performance. Replacing filters restores proper airflow and ensures that both stages of filtration are doing their job.
Common Types of Filters Found in Shark Vacuums
Shark produces a wide range of vacuum models, including upright, cordless stick, handheld, and robot vacuums. While designs vary, most Shark vacuums use one or more of the following filter types.
Foam Filters
Foam filters are usually located near the dust cup and act as the first line of defense. They are designed to trap larger debris and prevent it from reaching the motor. Most foam filters are washable and reusable, but they still need to be replaced once the foam begins to deteriorate.
Felt Filters
Some Shark models include felt filters alongside foam filters. These are thinner and capture finer dust particles. Like foam filters, many felt filters are washable, but they wear out over time and must be replaced when airflow becomes restricted.
HEPA Filters
HEPA filters are responsible for trapping microscopic particles and allergens. These filters are especially important for households with pets, allergies, or asthma. Some HEPA filters are washable, while others are not. Non-washable HEPA filters must be replaced at recommended intervals.
Understanding which filters your Shark vacuum uses is essential before attempting replacement or cleaning.
How to Identify Your Shark Vacuum Model
Before purchasing or replacing a filter, you need to identify the exact model of your Shark vacuum. Filters are model-specific, and using the wrong one can result in poor fit, air leaks, or reduced performance.
The model number is usually printed on a label located on the vacuum body. Common locations include the bottom of the vacuum head, the back of the main unit, near the dust cup, or under the battery compartment for cordless models.
Shark model numbers often begin with letters followed by numbers, such as NV, IZ, AV, or DUO. Once you know your model number, you can find the correct replacement filter designed specifically for your vacuum.
How Often You Should Replace a Shark Vacuum Filter
Filter replacement frequency depends on several factors, including how often you vacuum, the type of debris you collect, and whether you have pets or allergies in the home.
As a general guideline:
Foam and felt filters should be cleaned every one to three months and replaced every three to six months, depending on condition.
HEPA filters should typically be replaced every six to twelve months.
If you vacuum daily, have multiple pets, or live in a dusty environment, filters may need to be replaced more frequently. Waiting too long can cause performance issues that cleaning alone cannot fix.
Signs That Your Filter Needs Replacement
There are several clear indicators that it is time to replace your Shark vacuum filter:
A noticeable loss of suction even after emptying the dust cup
The vacuum feels warmer than usual during operation
Dust or fine debris is blowing back into the room
Unpleasant or musty odors while vacuuming
The filter appears dark, clogged, or damaged
If you experience any of these issues, replacing the filter should be one of the first troubleshooting steps.
Preparing to Replace the Filter in Your Shark Vacuum
Replacing a Shark vacuum filter is a simple task that does not require specialized tools. However, proper preparation ensures the process is clean, safe, and effective.
Before starting, turn off the vacuum and unplug it from the power outlet. If you are using a cordless model, make sure it is powered off and remove the battery if possible. This prevents accidental activation while handling internal components.
It is also a good idea to empty the dust cup before removing the filter. This minimizes dust exposure and prevents debris from falling into the vacuum housing during replacement.
Having a clean cloth or paper towels nearby can help contain any loose dust.
Step-by-Step Guide to Replacing a Shark Vacuum Filter
While specific designs vary by model, the general filter replacement process is similar across most Shark vacuums.
Step 1: Locate the Filter Housing
Most Shark vacuums have at least one filter located near the dust cup. Some models have a second filter near the exhaust or behind a separate cover.
Open the dust cup by pressing the release latch. Look for a removable filter cover, usually marked or shaped differently from other components.
Step 2: Remove the Old Filter
Carefully pull the filter straight out of its housing. Avoid shaking or squeezing it aggressively, as this can release trapped dust into the air.
If your vacuum uses multiple filters stacked together, remove them one at a time and note their order. This will help ensure proper installation of the new filters.
Dispose of non-washable filters in a sealed bag to reduce dust exposure.
Step 3: Inspect the Filter Housing
Before installing the new filter, check the filter compartment for loose debris. Wipe it clean with a dry cloth if necessary. Do not use water inside the vacuum housing.
Ensuring the compartment is clean helps the new filter seat properly and maintain an airtight seal.
Step 4: Install the New Filter
Insert the new filter into the housing, making sure it sits flat and fully seated. If the filter has a specific orientation, follow any markings or arrows provided.
Replace the filter cover securely. It should close easily without forcing it. If the cover does not fit, double-check that the filter is correctly positioned.
Step 5: Reassemble and Test
Reattach the dust cup and plug the vacuum back in or reinstall the battery. Turn the vacuum on and listen for normal airflow. Suction should feel stronger and more consistent.
If airflow seems restricted, recheck the filter placement and dust cup alignment.
Cleaning Washable Filters the Right Way
Many Shark vacuum filters are washable, but improper cleaning can shorten their lifespan or reduce effectiveness.
Washable filters should only be cleaned using cool or lukewarm water. Do not use soap unless the manufacturer explicitly allows it. Gently rinse the filter until the water runs clear.
Never scrub the filter with a brush or wring it out forcefully. This can damage the filter fibers and reduce filtration efficiency.
After rinsing, allow the filter to air dry completely for at least 24 to 48 hours. Installing a damp filter can lead to mold growth, unpleasant odors, and potential motor damage.
If a washable filter no longer returns to its original shape or remains dark after cleaning, it is time to replace it.
Common Mistakes People Make When Replacing Shark Vacuum Filters
One of the most common mistakes is assuming that cleaning alone is always sufficient. While washable filters can be reused multiple times, they do wear out. Ignoring replacement timelines can lead to permanent performance issues.
Another frequent error is using the wrong filter model. Even small differences in size or thickness can cause air leaks or poor fit, reducing suction and filtration.
Some users attempt to vacuum without a filter temporarily. This can cause dust to enter the motor and permanently damage the vacuum.
Finally, reinstalling filters before they are fully dry is a mistake that often leads to odors and internal damage.
Avoiding these mistakes ensures that filter replacement delivers the intended benefits.
How Replacing the Filter Improves Indoor Air Quality
One of the most overlooked benefits of replacing your Shark vacuum filter is improved air quality. A clogged or damaged filter allows fine particles to escape back into the room, especially during extended cleaning sessions.
Fresh filters trap allergens such as pet dander, pollen, and dust mites more effectively. This is particularly important for households with allergy sufferers or respiratory sensitivities.
By maintaining clean filters, your vacuum not only cleans floors but also contributes to a healthier living environment.
Extending the Life of Your Shark Vacuum Filters
While filters do need to be replaced, there are several steps you can take to extend their usable life.
Empty the dust cup after every cleaning session to prevent debris from reaching the filter unnecessarily. Regularly check the filter for visible buildup and clean washable filters on schedule.
Avoid vacuuming fine construction dust, ash, or drywall debris unless your vacuum is specifically designed for it. These materials can clog filters rapidly and reduce their lifespan.
Storing your vacuum in a clean, dry area also helps prevent moisture and dust accumulation inside the filter housing.
When Filter Replacement Does Not Fix Performance Issues
In some cases, replacing the filter may not fully restore suction. If performance issues persist, check for blockages in the hose, brush roll, or air pathways.
Hair and debris can accumulate in areas beyond the filter, restricting airflow. Cleaning these components along with replacing the filter often resolves the issue.
If problems continue even after thorough maintenance, the vacuum may require professional servicing.
Why Regular Filter Replacement Protects Your Investment
A Shark vacuum is an investment in convenience and cleanliness. Regular filter replacement protects that investment by reducing wear on the motor, maintaining consistent performance, and preventing costly repairs.
Many vacuum failures attributed to motor burnout or overheating are linked to restricted airflow caused by neglected filters. Replacing filters on schedule is a small cost compared to replacing the entire vacuum.
By making filter replacement a routine part of your maintenance schedule, you extend the life of your vacuum and ensure it continues to deliver reliable results.
Final Thoughts on Replacing Filters in Shark Vacuums
Replacing the filter in a Shark vacuum is one of the simplest yet most impactful maintenance tasks you can perform. It restores suction, improves air quality, reduces strain on internal components, and keeps your vacuum running efficiently.
Understanding your vacuum model, recognizing the signs of a clogged filter, and following proper replacement procedures ensures that your cleaning routine remains effective and hassle-free.
With regular filter maintenance and timely replacement, your Shark vacuum can continue to perform at its best for years to come, delivering powerful cleaning and cleaner air throughout your home.